Keezel review
The Keezel is another interesting technology item that I backed on Indiegogo, and so after using it for a while both at home and on the road, I thought it might just be time for a Keezel review.
The Keezel device is a VPN device that allows you to secure your wi-fi communications. After you power it up, you connect to it and then use a web browser to go into the device’s administration panel. From there, you can set up what wireless access point and VPN you want to connect to. In addition, it can function as a spare battery pack as well, powering any mobile devices that charge through a standard USB port.
Right out of the box, I had some issues trying to get the Keezel registered with my Premium activation code that was included in the box. No matter what I did, it still did not think that it was registered. After a couple of emails with Keezel support, it was working just fine. I suspect that there is some kind of issue with the Keezel software or with their back end managing the subscriptions, and that they did something manually on their side that enabled it to connect up.
Once set up, the device worked great at home. On the road, though, it did not work quite as well, but even then I suspect that it had more to do with the quality of the wi-fi on the road I was trying to connect to, than a problem with the Keezel device or software. Toward the end of my trip, the device was knocked out of commission because the wi-fi log in page that I was trying to use would not come through to the user, they would just get an error message in the browser.
Rating: 4 stars out of 5
Pros:
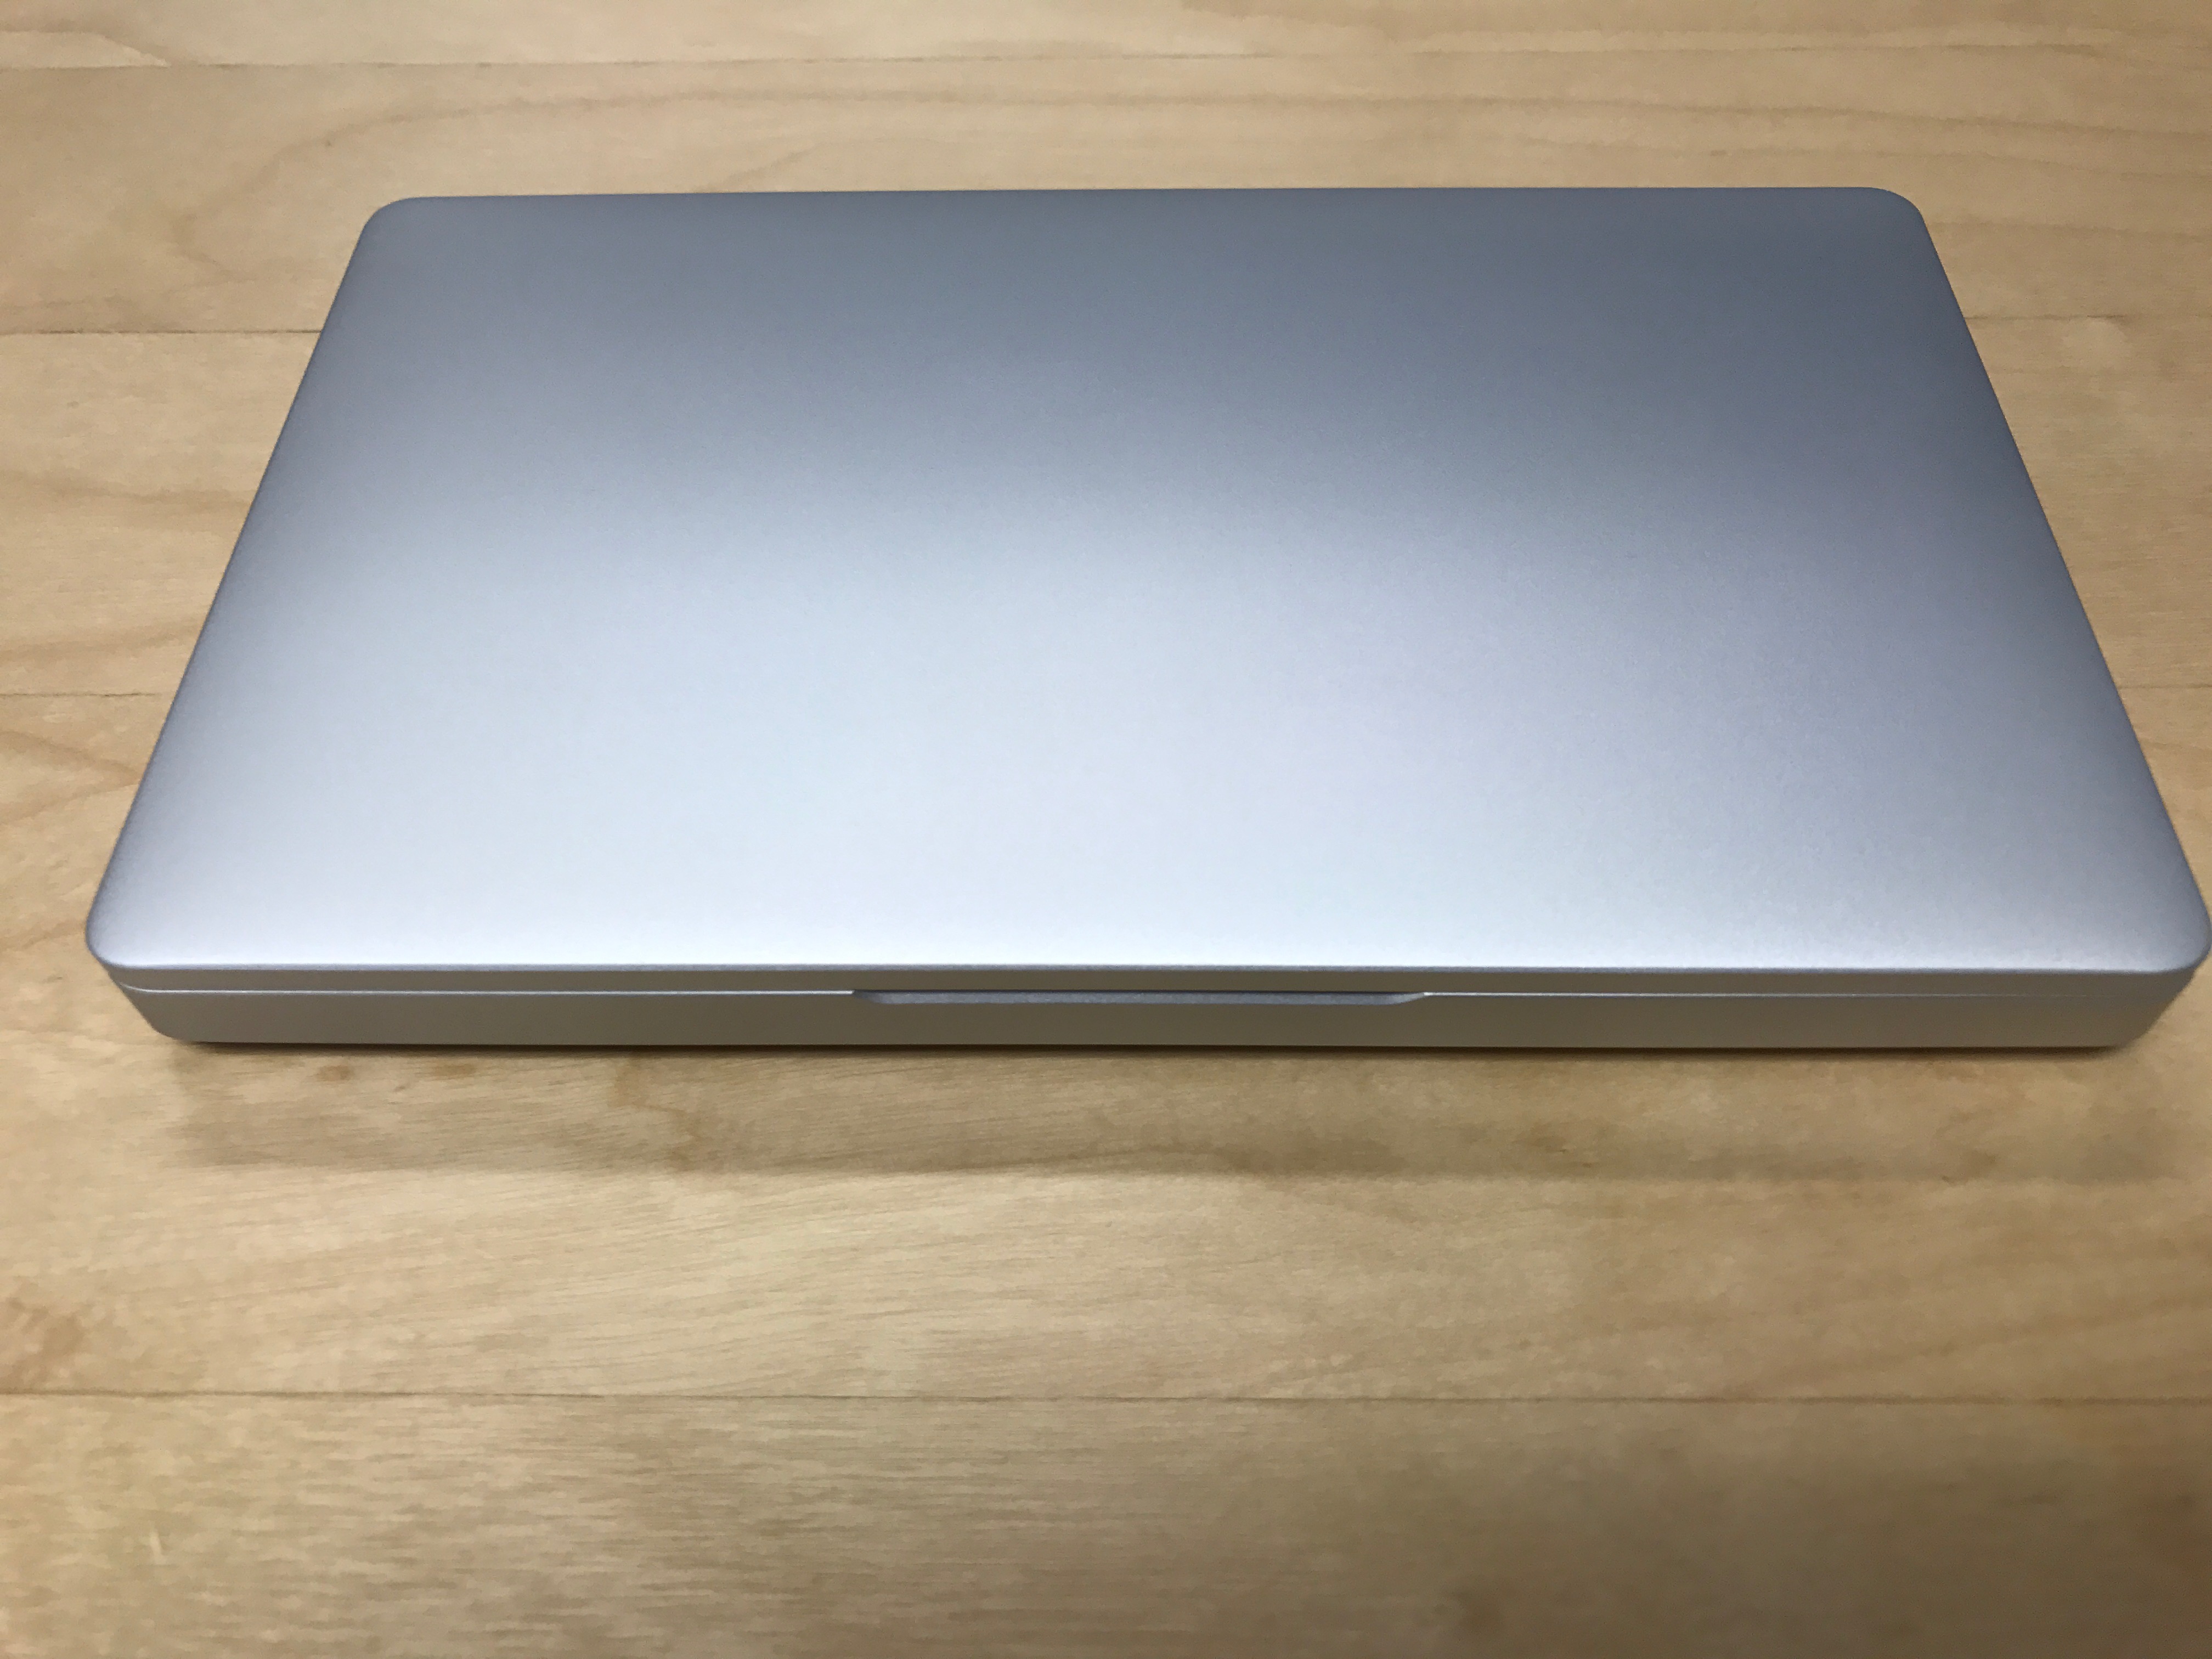
- Compact and light
- Good battery life
- Fast response from support
Cons:
- Can be a bit touchy
- Location of supported VPNs does not include all locations
BTW, Happy Birthday to Clint Hurdle, manager of the Pittsburgh Pirates.